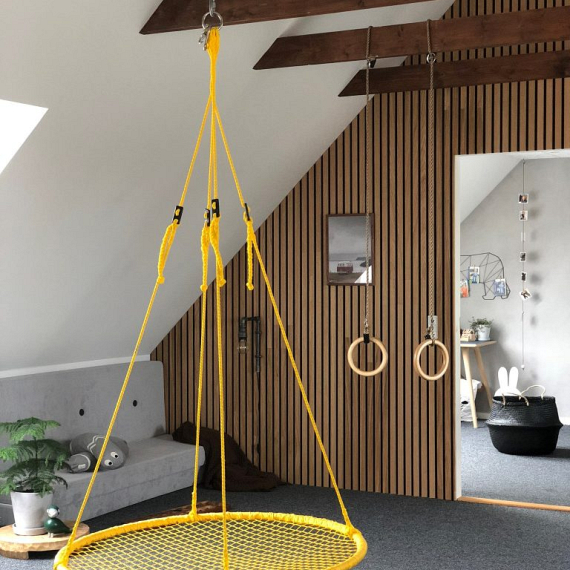
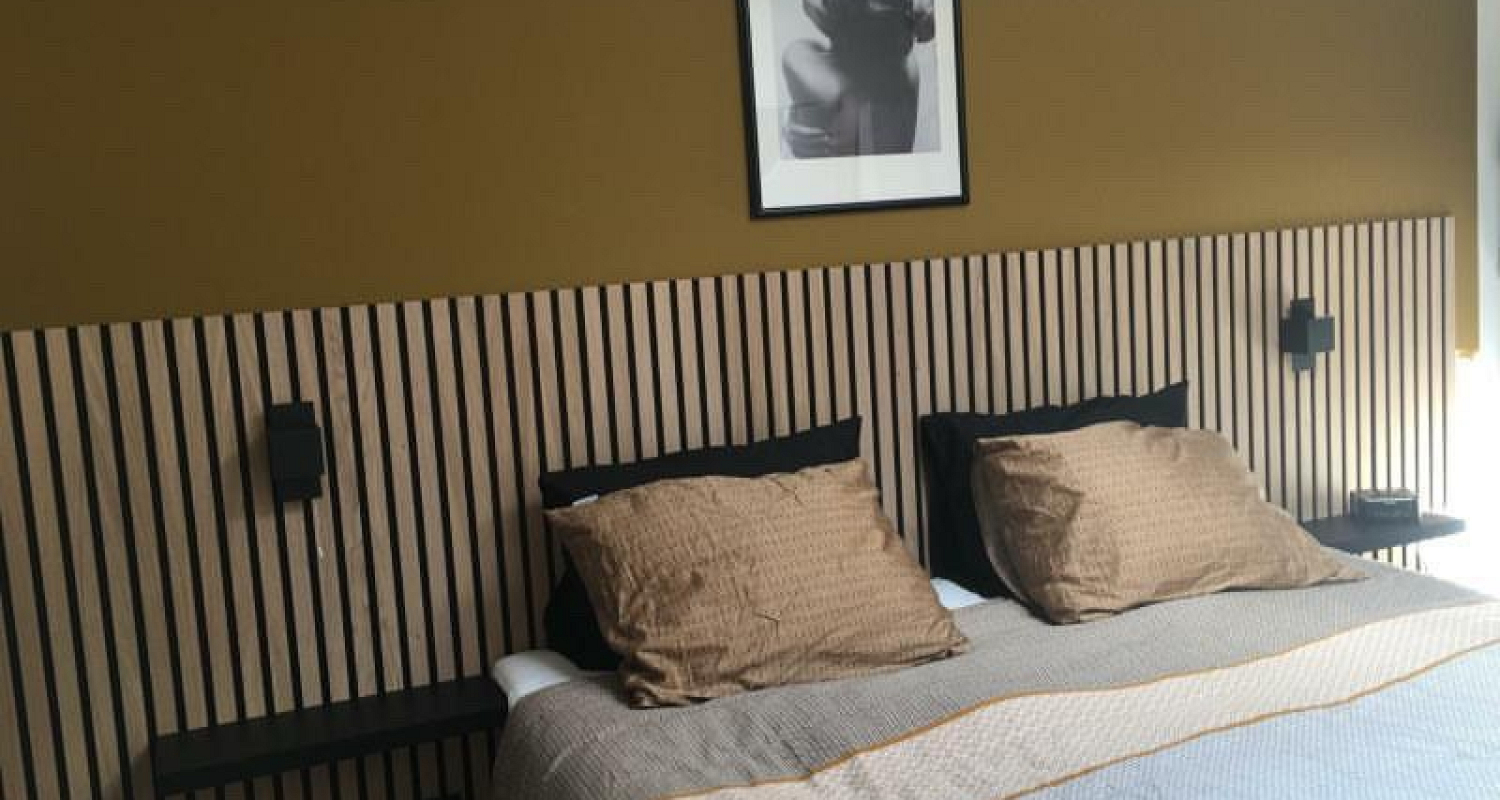
Quick and easy installation of acoustic panels.

If you've also been captivated by the beautiful look that wooden acoustic panels can give, don't hold back because of the installation. At I⋅Wood, we've made setting up and INSTALLING ACOUSTIC PANELS easy and straightforward. The overall advantage of our acoustic panels is that they are made from whole MDF boards, which means you have a whole board to attach to.
Adaptation of acoustic panels
If the width or length of the acoustic panels do not fit beforehand and you are unable to install them directly, fear not. The acoustic panels can be easily adjusted both in width and length using, for example, a cross-cut saw or a scroll saw.
In addition, you can easily and simply drill holes for spots, lamp sockets, etc. This requires no extra work, as the felt located in the spaces between the mouldings and the board is fixed in place.
Installation of acoustic panels
The panels are made of natural material, which allows them to expand or contract. To avoid problems with this, we recommend that you store the products in the room before installation. This allows them to adapt to the temperature and humidity of the room.
Once the panels are acclimatised, you can safely install the acoustic panels. The finger jointed acoustic panels can be butted together at the ends to give you a finished surface with no visible gaps, easily and simply.
To install the acoustic panels, simply use a mounting glue. Here, the amount you need will vary depending on the size of the job. In addition, you will need nails that fit a nail gun to attach the acoustic panels. You need to shoot these at the edge and up into the gaps in the felt between the panels. This way you avoid visible joins.
We do everything we can to make it simple for you, so you can create your dream home with great acoustics.


